This page contains information about the V-Ray Splat Texture.
Overview
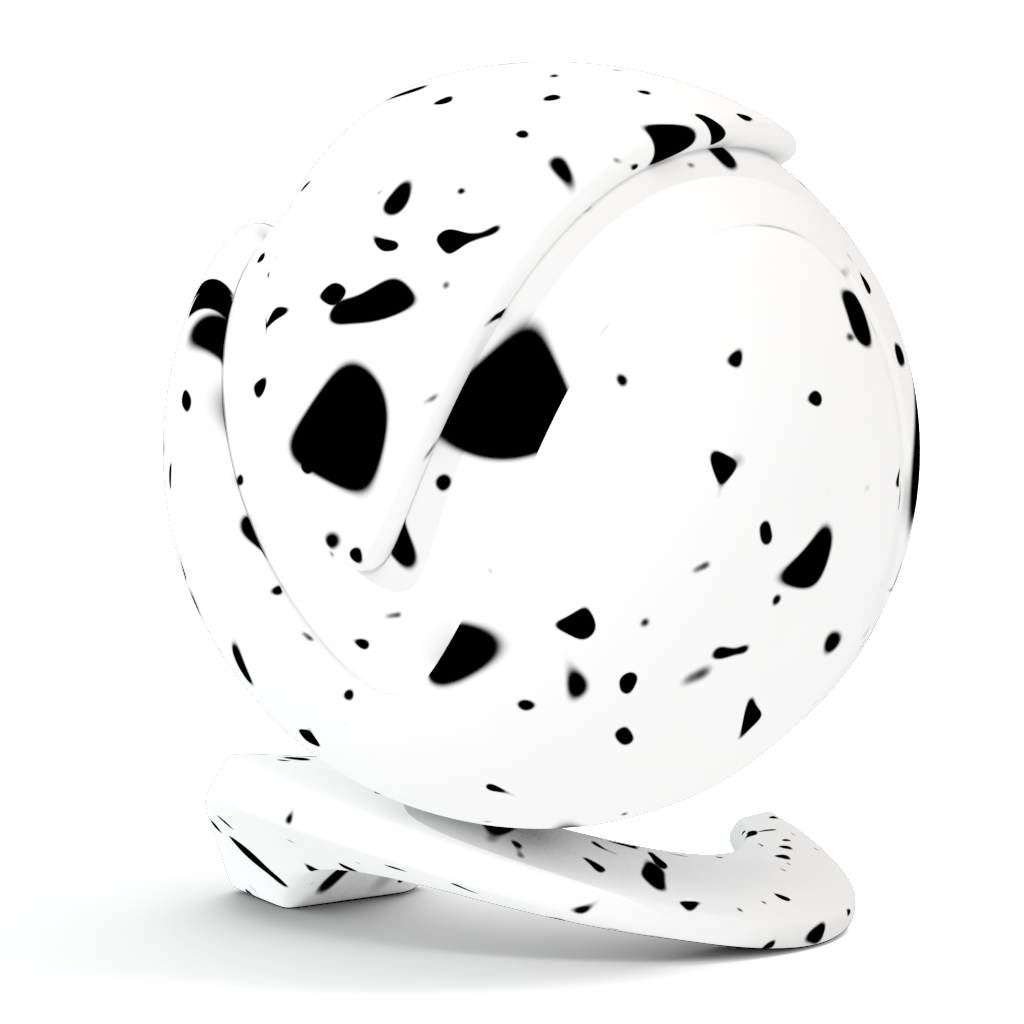
The V-Ray Splat Texture is a procedural texture that mimics a splatter effect similar to the way paint can splatter onto a surface. Both of the two colors channels can be connected to texture maps.
UI path:
||mat Network|| > V-Ray > Texture: Procedural > V-Ray Splat
||out Network|| > V-Ray Render Elements node > V-Ray > Texture: Procedural > V-Ray Splat
Settings
Color 1 – Controls the color of the main surface.
Color 2 – Controls the color of the splatters.
Size – Controls the scale of the procedural texture produced. For more details, see the Size example below.
Iterations – Controls how many times the procedural repeats the process. For more details, see the Iterations example below.
Threshold – Determines how much of Color 1 is mixed with Color 2. At 0, only Color 1 is displayed; at 1, only Color 2 is displayed. For more details, see the Threshold example below.
Smoothing – Controls the sharpness of the splatters. Lower values make the splatters sharper, higher values make them more blurry. For more details, see the Smoothing example below.
Color Tweaks
Default Color – Specifies the color when there are no valid UVW coordinates.
Mult – Specifies a strength multiplier for the texture color.
Offset – Color corrects the texture by adding the the RGB color values specified here to the RGB color values in the texture.
Invert – When enabled, inverts the resulting texture color.
Alpha Tweaks
Source – Specifies where the alpha channel is drawn from.
Alpha – Alpha channel is drawn from the texture.
Color – Alpha is generated from pixel intensity.
Opaque – Alpha channel is fully opaque.
Use – Differentiate between textures exported from different applications. You can choose between Color Intensity (3ds Max) and Color Luminance (Maya).
Mult – Specifies a multiplier for the texture alpha.
Offset – Specifies an additional offset for the texture alpha.
Invert – When enabled and Invert from Color Tweaks is also enabled, the resulting texture alpha is inverted as well.
Placement
Placement Type – Specifies the way the valid portion of the texture is applied.
Full – Uses the full valid portion of the texture.
Crop – Allows the user to specify a section of the texture using the parameters below.
Place – Allows the user to specify a section of the texture and how to place it using the parameters below.
U – Specifies the U coordinate of the valid texture sector.
V – Specifies the V coordinate of the valid texture sector.
W – Specifies the width of the valid texture sector.
H – Specifies the height of the valid texture sector.
Jitter – Controls the amount of random placement variation.
Tile U – Enables horizontal tiling.
Tile V – Enables vertical tiling.
UV Noise
Enabled – Enables noise for the texture.
Amount – Specifies the amount of noise to add to the texture.
Levels – Specifies the amount of noise iterations.
Size – Controls the scale of the noise.
Animated – Enables the noise to be animated.
Phase – Controls the noise phase.
Example: Size
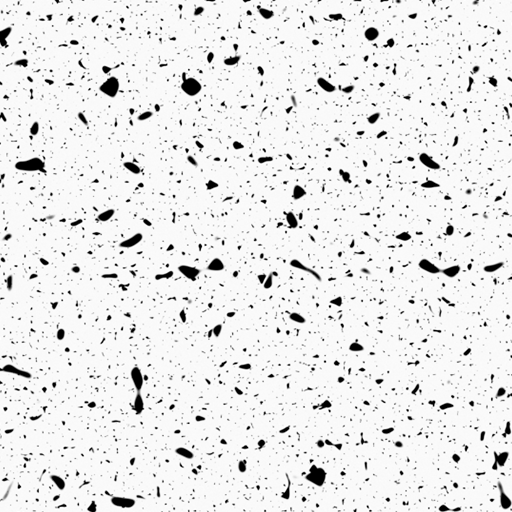
Size: 0.25

Size: 1.0

Size: 2.5
Example: Iterations

Iterations: 2
Iterations: 4

Iterations: 8
Example: Threshold
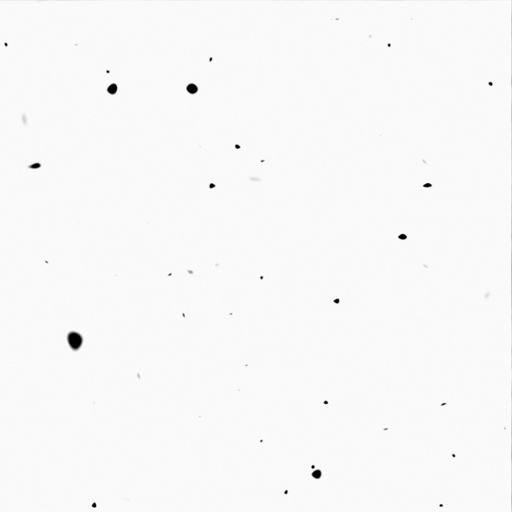
Threshold: 0.1
Threshold: 0.2

Threshold: 0.35
Example: Smoothing
Smoothing: 0.02

Smoothing: 0.1
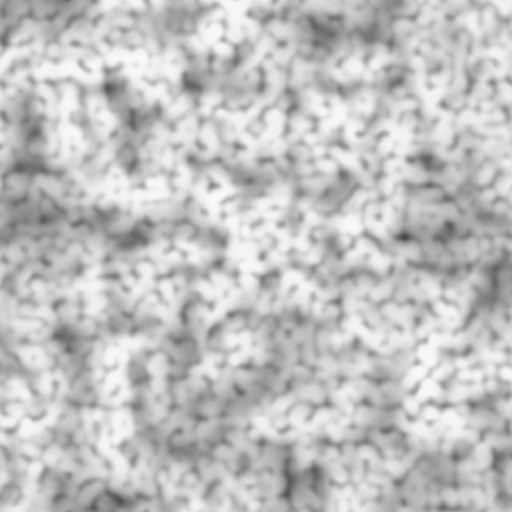
Smoothing: 0.5